Configuring Raspberry Pi. Change all your configuration settings right from the GUI
The internet is flooded with information related to configuring Raspberry Pi with command line scripts. But it’s hard to find details on configuring the PI through GUI. Here we can see how to configure Raspberry Pi in an easy way through GUI.
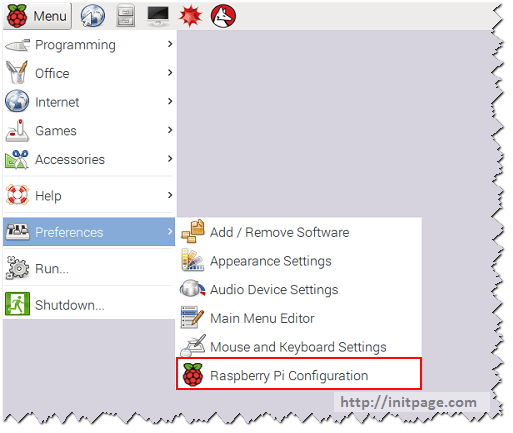
To perform the below changes , boot to the GUI mode ( by default Raspian Jessie boots to GUI mode) and click “Menu” => Preferences => Raspberry Pi Configuration
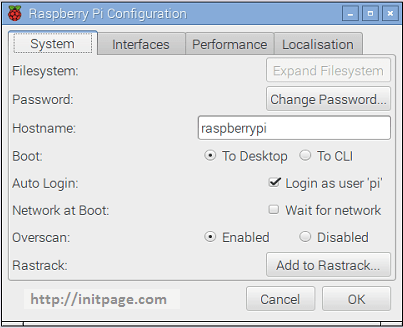
1. Changing the Name of Raspberry Pi ( Machine name)
The default host (machine) name of Raspberry Pi is “raspberrypi” . Change it to any name you wish by providing a new name in the textbox provided for hostname.
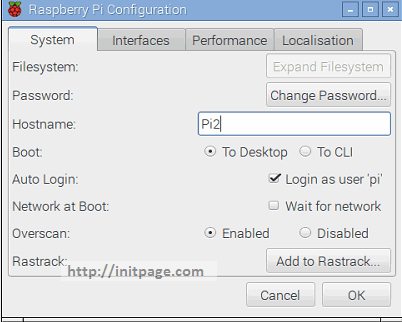
2. Changing the password of “Pi” user
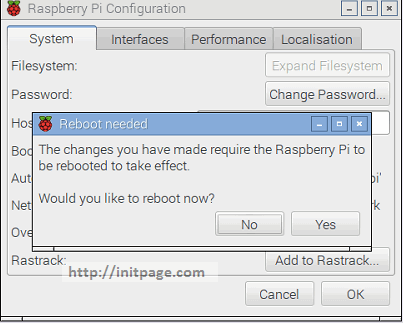
The default password for “pi” user is “raspberry”. This can be changed by clicking “Change Password” button in “System” tab.
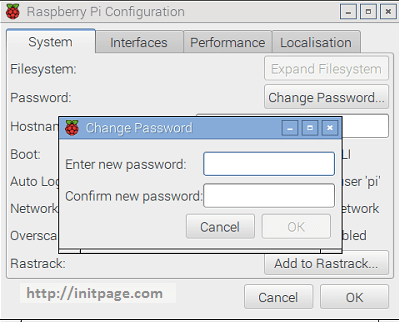
3. Enable / Disable SSH
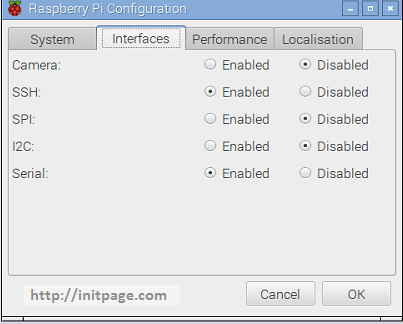
The interfaces tab provides option to disable or enable “SSH” along with other options for “Camera”, “SPI”, “I2C” and “Serial”.
4. Changing the locale ( language ) settings
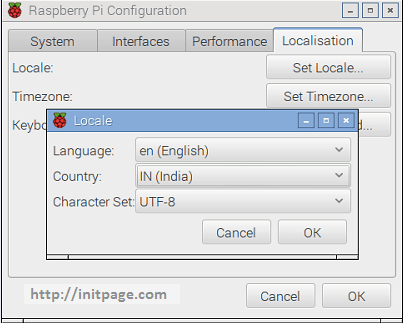
Select “Set Locale” button in Localisation Tab and change the Language, Country and Character-set to your preferred options.
5. Change Time zone
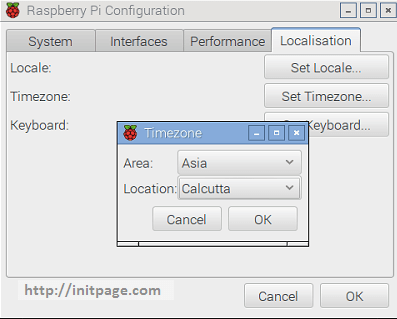
Select “Set Timezone” in the Localization Tab and change the “Area” and “Location” to your existing location.
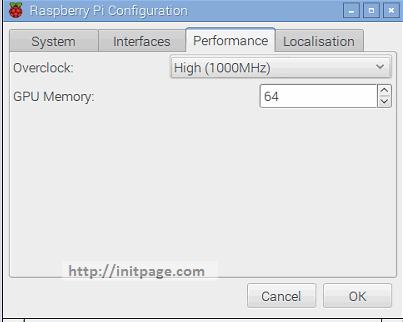
6. Over clocking
By default the clock speed would be 900 MHz you can overclock it to 1000 MHz. The computing speed change would create excessive heat. Ensure that your Raspberry Pi is ventilated properly to handle the excess heat.
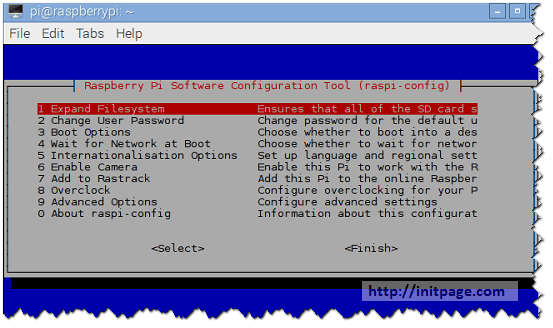
All the above settings can also be done via command prompt by typing “sudo raspi-config” in the terminal.
In the next articles we can see the must have applications for Raspberry Pi 2
Leave a comment