Install Apache Web server and manage Linux file permission with Webmin GUI in Raspberry Pi
sudo apt-get install apache2 -y in terminal is what required to install apache in raspberry pi. But for a change we will try to do every thing from GUI instead of doing it in console.
If you haven’t installed Webmin, refer my earlier article to learn how to install webmin for raspberry pi.
Steps to install Apache
1. Access your webmin portal by navigating to https://[ip address of your pi]:10000 [ Its https not http]
2. Provide your username and password of pi
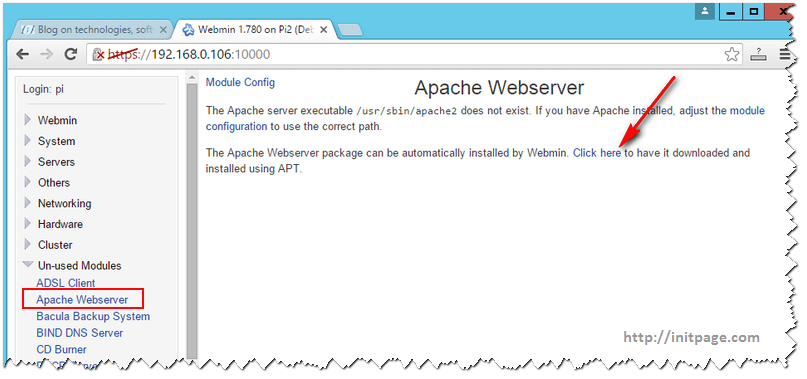
3. Navigate to “Un-used Modules” section of web min and select “Apache Webserver”. Click the “Click here” link in the right hand side pane and wait for the installation to complete
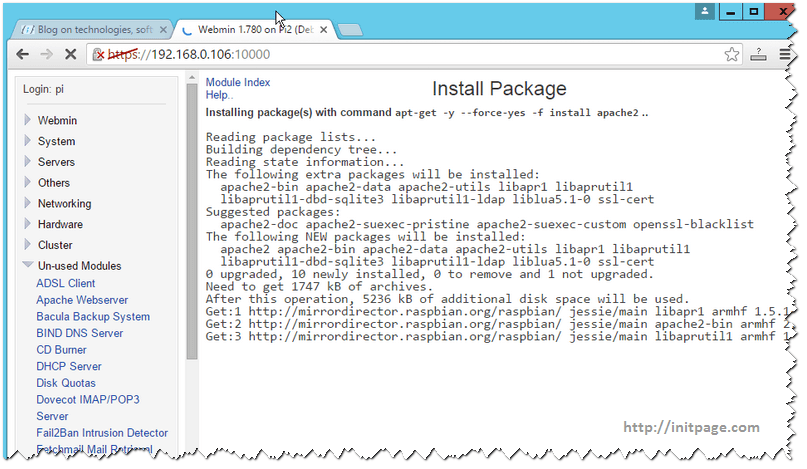
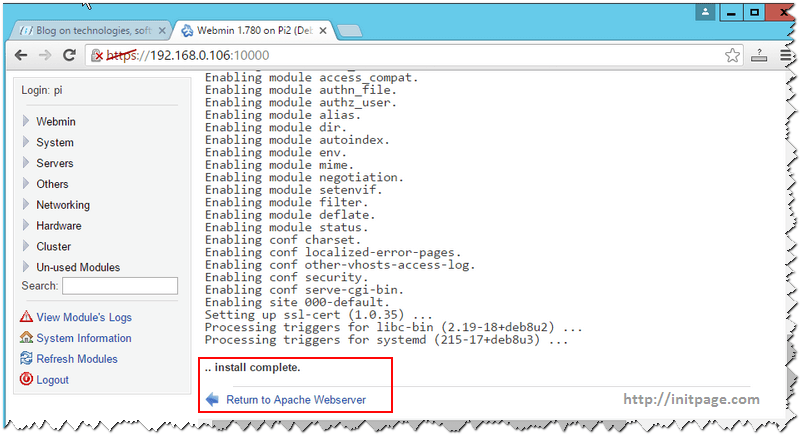
5. Now you can navigate to http://0.0.0.0 in your pi, this would render a page like the one shown bellow
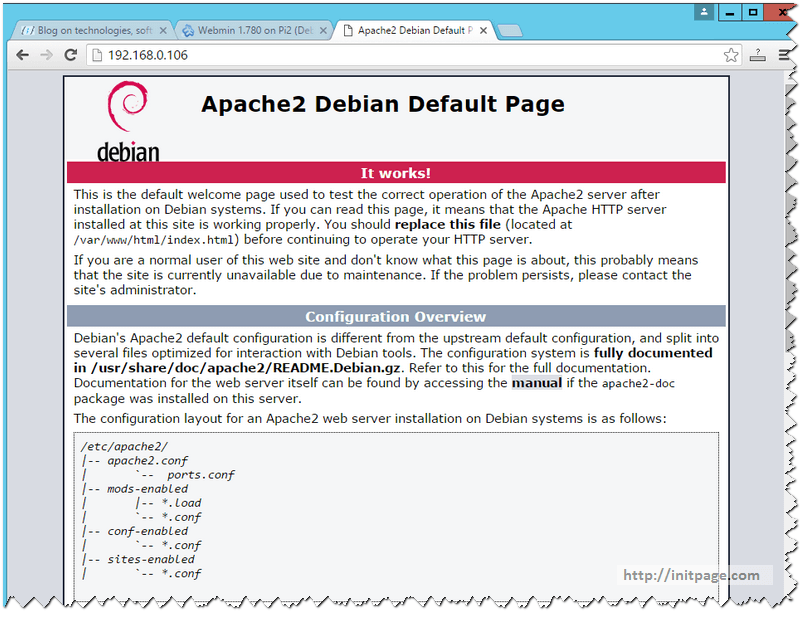
6. By default, the virtual folder of Apache would be pointing to “/var/www/html”.
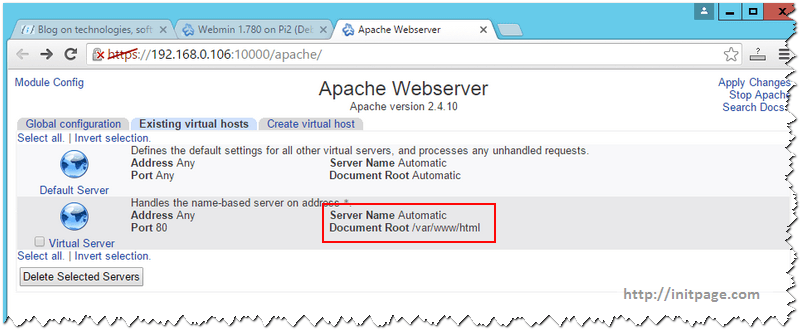
Incidentally , the default pi user doesn’t have enough permission to create any folder inside this virual folder that apache is pointing to. The next step is to grant permission to pi user for this folder. Although this can be done through terminal , we would be using webmin to grant permissions to that folder.
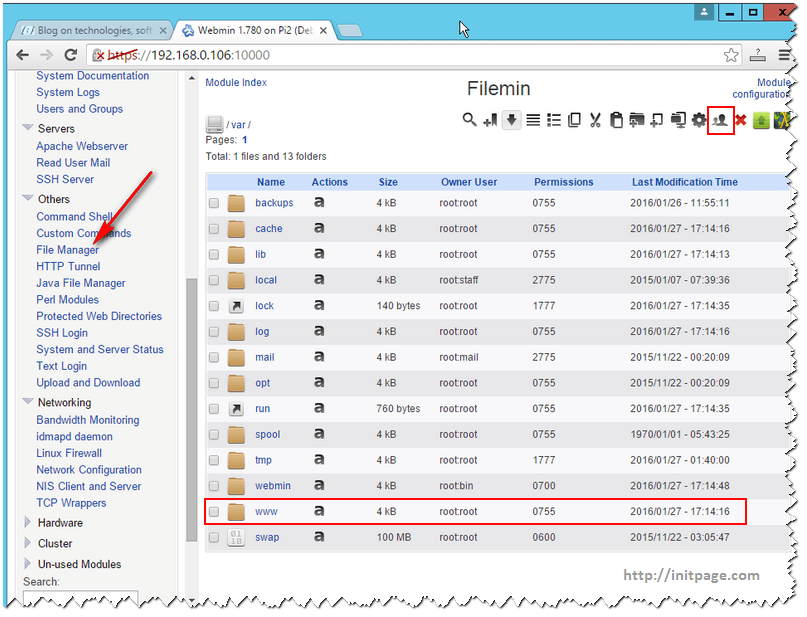
7. In Webmin, open “File Manager” located under the category “Others”. Navigate to “/var”/ and select the “www” folder and select “Chown” icon in the top bar ( highlighted in the below image).
8. In the “Change Owner” popup , set the user name as “pi and Group Name as “pi” . Select the “Recursive” option and click “Change” to apply the changes
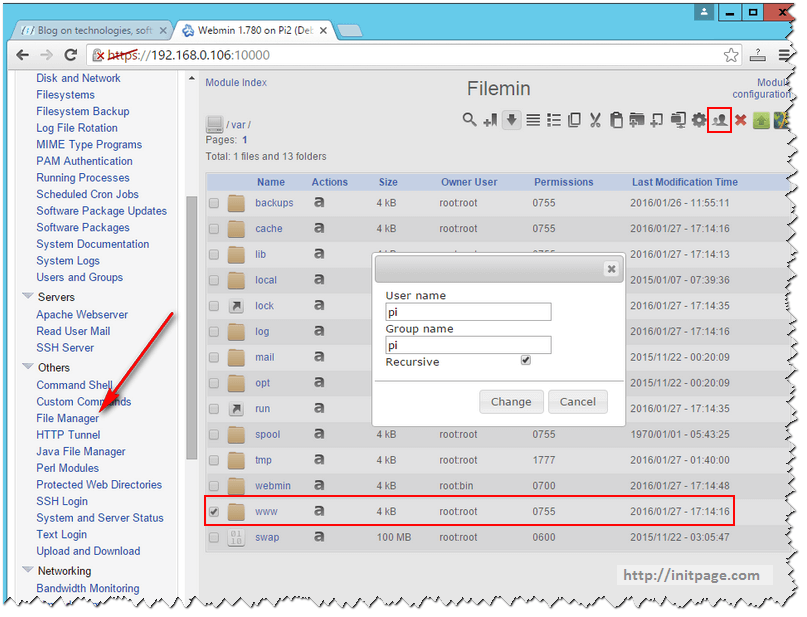
9. This would change the owner from “root” to “pi”

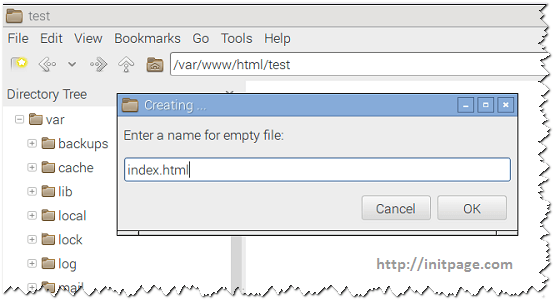
10. Navigate to “/var/www/html” in Raspberry pi ( I have used default raspberry file manager, you can also do it in webmin) and create a new folder named “test” and create a “empty file” named “index.html inside the “test” folder
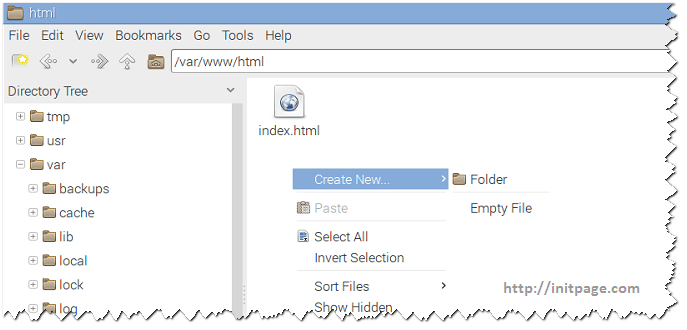
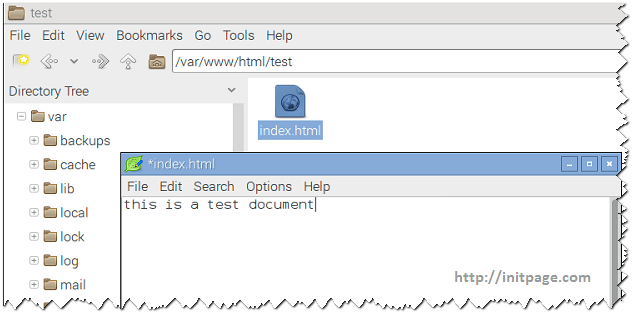
11. Now you can access this newly created content by navigating to http://0.0.0.0/test/

Leave a comment