Preparing your SD card for clean installation of Raspian OS in Raspberry Pi2
This step starts with selection of a SD Card that would be used as OS partition for Raspberry Pi and preparing the SD card and installing the Raspian OS in it and performing the first boot
Selection of SD Card
Although 4 GB SD card is more than enough for Raspbian, it’s better to have an 8 GB Class 10 SD Card. Since it’s not possible to get a 4 GB SD card with higher read write speed (Class 10) we can opt in for 8 GB card.
It doesn’t mean that you cannot use a 16 GB or 32 GB card. There is a catch in it if you would like to take a backup of the Card. If you take a backup of SD card from windows PC with image creation tools, the backup file size would be equivalent to size of SD card irrespective of the space consumed by Raspberry Pi. It’s better to attach a hard disk to the Pi rather than saving all your files directly in SD card in which the Pi resides.
Preparing the installation disk
There are at least 3 options available for installing Raspian OS to your Raspberry Pi. Follow any one of the below options to get ready with your installation disk.
1. Creating an installation disk from Raspbian image file
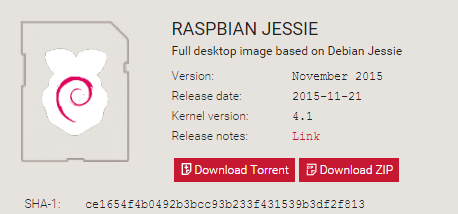
Steps
a. Navigate to https://www.raspberrypi.org/downloads/raspbian/ and download the “Raspian Jessie” image file.
b. Extracting the zip file that would provide you an .img file.
c. Download win 32 Disk imager from http://sourceforge.net/projects/win32diskimager/
d. Install it in your windows PC
e. Mount your SD card in your PC
f. Run the Disk Imager Program and select the raspbian image file.
g. Ensure that you have selected the correct drive where your SD card is mounted

h. Select write option and wait till it completes
i. That’s it now your image is ready and you can insert into your Raspberry Pi and boot it
2. Creating an NOOBS ( New Out Of Box Software) installation disk

Steps
1. Download NOOBS from https://www.raspberrypi.org/downloads/noobs/
2. Extract the content to a new folder
3. Download SD Card formatter from https://www.sdcard.org/downloads/formatter_4/
4. Mount the SD card and run the SD Card Formatter
5. Ensure that you have selected the correct drive
6. Click the options button

7. Select ‘Format Size Adjustment” to ON

8. Click OK and click format.
9. Wait for the confirmation message and copy the extracted content ( Not the root folder, the content inside the root folder with files has to be copied) to the SD Card
10. Now you are all set for first boot
3. Buying an SD Card with NOOBS pre-installed
An easy option, if you doesn’t have enough patience to download 1 GB+ of installation files and follow the above the steps to prepare the SD card. Search for NOOBS in Amazon and you would find too many options to go far.
Installing the OS
Insert the SD card that you have prepared in the previous step and power up your Raspberry Pi. Follow the on screen instructions and wait for 20 mins to complete the installation.

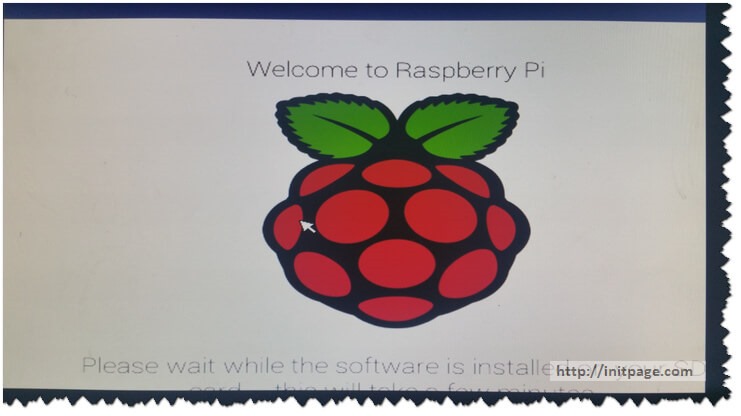
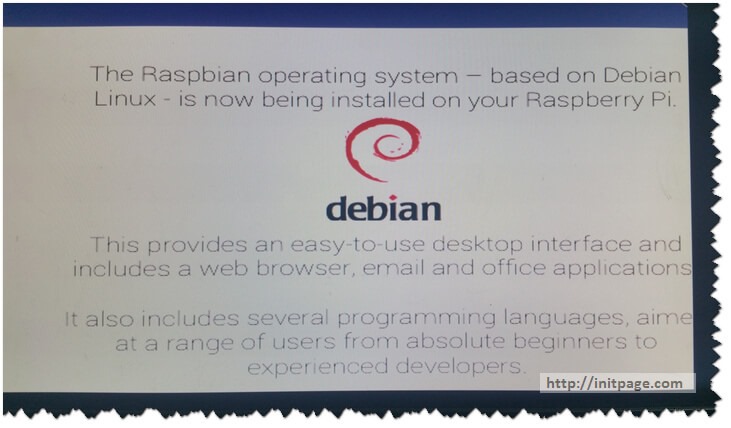
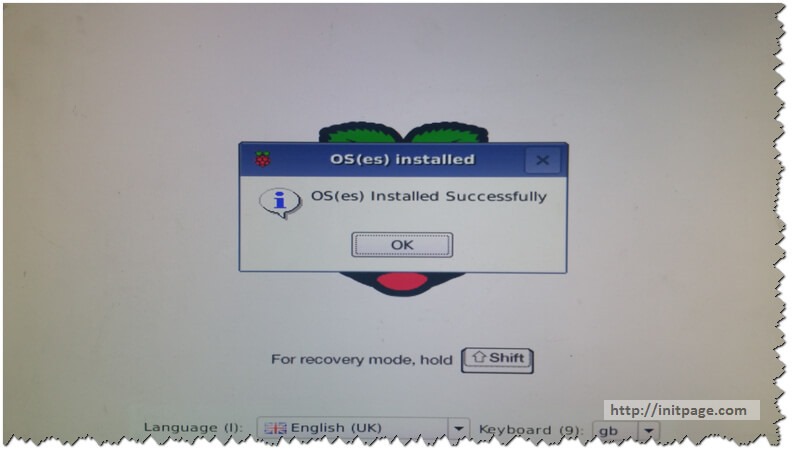
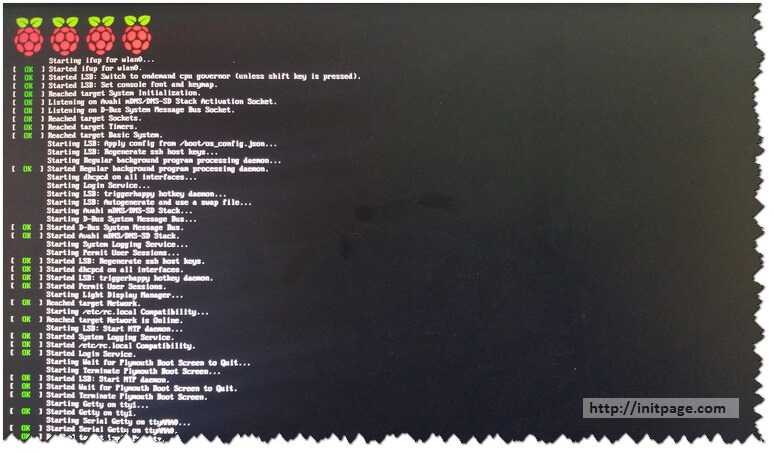
If all goes well you will get a welcome screen like the one below.
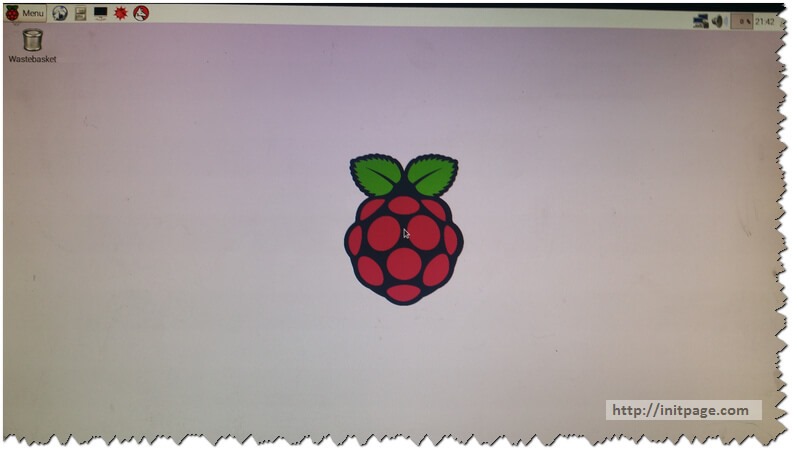
Welcome to the world of Linux !!!
Leave a comment